Migration Guide - Exclusive Oxxo Pay Merchants
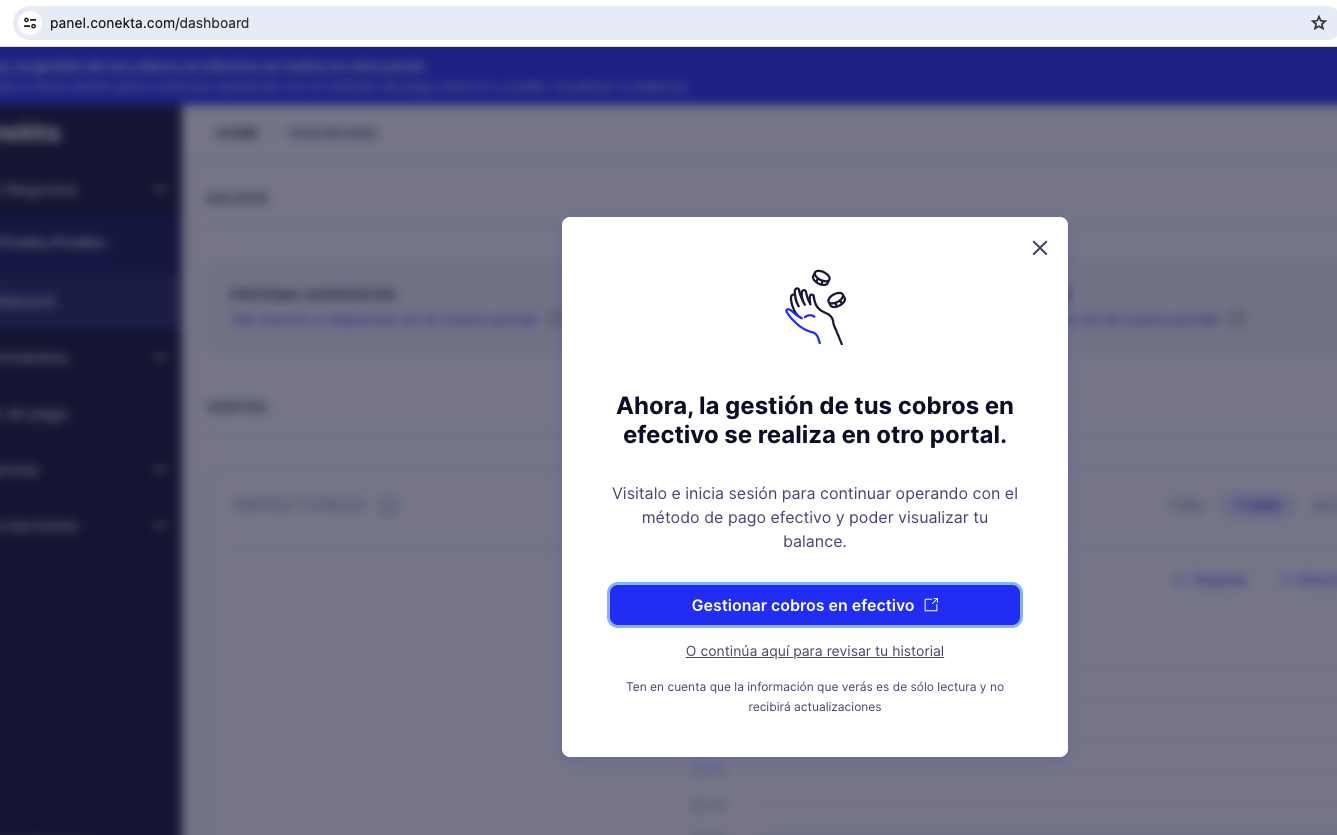
This guide is intended for merchants who exclusively use OxxoPay through Conekta. If you see the migration modal when loggin into https://panel.conekta.com, follow these steps to update your integration and ensure uninterrupted service

The appearance of this modal means that your merchant account has already been migrated to Digital@Femsa. Once you verify that you still have access to https://panel.digitalfemsa.io and confirm that your operations are running as usual, it is time to update your integration.
If you have any questions, you can use the Panel support chat or contact your account executive.
Technical Modifications
Below, we detail the steps to follow for each type of integration. Please note that in all cases, your merchant's api-keys remain the same, and you will use them in the new domain in the same manner as before.
API Integration
If you have this integration type that makes requests directly to the API at https://api.conekta.io, you must replace the domain it targets with https://api.digitalfemsa.io The resource signatures and responses corresponding to the new domain maintain the same structure.
The new API will only work for cash payment method.
SDK
In case that you use SDK, you must install the new SDK from this link: <https://developers.digitalfemsa.io/page/bibliotecas-de-programaci%C3%B3n>
(*) Versions prior to 6.0 are not available. You must update your integrations to this new version.
Php
Steps for .Php SDK Migration
- Remove the old SDK:
composer remove conekta/conekta-php- Install the new SDK:
composer require digitalfemsa/femsa-php- Update the imports to use the new SDK
 <?php
require_once(__DIR__ . '/vendor/autoload.php');


// Configure Bearer authorization: bearerAuth
$config = DigitalFemsa\Configuration::getDefaultConfiguration()->setAccessToken('API_KEY');


$apiInstance = new DigitalFemsa\Api\ApiKeysApi(
    // If you want use custom http client, pass your client which implements `GuzzleHttp\ClientInterface`.
    // This is optional, `GuzzleHttp\Client` will be used as default.
    new GuzzleHttp\Client(),
    $config
);
$api_key_request = new \DigitalFemsa\Model\ApiKeyRequest(); // \DigitalFemsa\Model\ApiKeyRequest | requested field for a api keys
$accept_language = "es"; // string | Use for knowing which language to use

try {
    $result = $apiInstance->createApiKey($api_key_request, $accept_language);
    print_r($result);
} catch (Exception $e) {
    echo 'Exception when calling ApiKeysApi->createApiKey: ', $e->getMessage(), PHP_EOL;
}
Ruby
Steps for Ruby SDK Migration
- Uninstall the old SDK:
gem uninstall conekta- Install the new SDK:
gem install digital_femsa- Update the imports:
# Load the gem
require 'digital_femsa'

# Setup authorization
DigitalFemsa.configure do |config|
  config.access_token = 'YOUR_API_KEY'
end

api_instance = DigitalFemsa::ApiKeysApi.new
api_key_request = DigitalFemsa::ApiKeyRequest.new({role: 'private'}) # ApiKeyRequest | requested field for a api keys
opts = {
  accept_language: 'es', # String | Use for knowing which language to use
}

begin
  #Create Api Key
  result = api_instance.create_api_key(api_key_request, opts)
  p result
rescue DigitalFemsa::ApiError => e
  puts "Exception when calling ApiKeysApi->create_api_key: #{e}"
end
Python
Steps for Python Sdk Migration
- Uninstall the old SDK:
pip uninstall conekta- Install the new SDK:
pip install digitalfemsa- Update the imports:
import time
import digitialfemsa
from digitialfemsa.rest import ApiException
from pprint import pprint

# The client must configure the authentication and authorization parameters
# in accordance with the API server security policy.
# Examples for each auth method are provided below, use the example that
# satisfies your auth use case.

# Configure Bearer authorization: bearerAuth
configuration = digitialfemsa.Configuration(
    access_token = os.environ["API_KEY"]
)


# Enter a context with an instance of the API client
with digitialfemsa.ApiClient(configuration) as api_client:
    # Create an instance of the API class
    api_instance = digitialfemsa.CustomersApi(api_client)
    customer = digitialfemsa.Customer(
        email='[email protected]',
        name='Customer Name',
        phone='5534343434'
    ) # Customer | requested field for create Customer
    accept_language = 'es' # str | Use for knowing which language to use (optional) (default to 'es')

    try:
        # Create Customer
        api_response = api_instance.create_customer(customer, accept_language=accept_language)
        print("The response of CustomersApi->create_customer:\n")
        pprint(api_response)
    except ApiException as e:
        print("Exception when calling CustomersApi->create_customer: %s\n" % e)
Node
Steps for Node Sdk Migration
- Uninstall the old SDK:
npm uninstall conekta- Install the new SDK:
npm install digitalfemsa- Update the imports:
import { CustomersApi, Configuration, Customer, CustomerResponse } from "digitalfemsa";

const apikey = "key_xxxxx";
const config = new Configuration({ accessToken: apikey });
const client = new CustomersApi(config);

const customer: Customer = {
  name: "John Constantine",
  email: "[email protected]",
  phone: "+5215555555555"
}

client.createCustomer(customer).then(response => {
  const customerResponse = response.data as CustomerResponse;
  console.log(customerResponse.id);
}).catch(error => {
  console.error("here", error);
});
.NET
Steps for .NET SDK Migration
- Remove the old SDK:
dotnet remove package Conekta.net- Add the new SDK:
dotnet add package DigitalFemsa.net- Update the imports:
// Create a OrderRequest
using System;
using System.Collections.Generic;
using DigitalFemsa.net.Client;
using DigitalFemsa.net.Api;
using DigitalFemsa.net.Model;

// create the http client

string acceptLanguage = "en";
Configuration configuration = new()
{
    AccessToken = "Your merchant XAPI key"
};
var ordersApi = new OrdersApi(configuration);
var customerApi = new CustomersApi(config);

// create customer
var customer = new Customer(
    name: "test dot",
    phone: "+573143159063",
    email: "[email protected]"
);
CustomerResponse customerResponse = customerApi.CreateCustomer(customer);
// Create OrderRequest

var lineItems = new List<LineItems>{new (
        name: "toshiba",
        quantity: 1,
        unitPrice: 1555
    )};
var charges = new List<ChargeRequest>{new (
    amount: 1555,
    paymentMethod: new ChargeRequestPaymentMethod("cash")
)};
var customerInfo = new OrderRequestCustomerInfo(new CustomerInfoJustCustomerId(customerResponse.Id));
OrderRequest orderRequest = new OrderRequest(
    currency: "MXN",
    customerInfo: customerInfo,
    lineItems: lineItems,
    charges: charges
);

//Make the call to the service. This example code makes a call to /orders
OrderResponse response = ordersApi.CreateOrder(orderRequest, acceptLanguage);
Golang
Steps for Golang SDK Migration
- Update the SDK:
go get -u github.com/digitalfemsa/digitalfemsa-go- Update the imports:
package main

import (
    "context"
	"net/http"

    "github.com/digitalfemsa/digitalfemsa-go"
)

func main() {
	// Create a OrderRequest
	const acceptLanguage = "es"
	const accessToken = "Your merchant XAPI key"

	// create the http client
	config := digitalfemsa.NewConfiguration()
	client := digitalfemsa.NewAPIClient(config)

	ctx := context.WithValue(context.TODO(), digitalfemsa.ContextAccessToken, accessToken)

	// create customer
	customer := digitalfemsa.Customer{
		Name:  "test go",
		Phone: "+573143159063",
		Email: "[email protected]",
	}
	customerResponse, httpResponse, err := client.CustomersApi.CreateCustomer(ctx).
		Customer(customer).
		AcceptLanguage(acceptLanguage).
		Execute()
	if err != nil {
		panic(err)
	}
	if httpResponse.StatusCode != http.StatusCreated {
		panic("invalid response statusCode")
	}

	// Create OrderRequest
	chargeRequest := digitalfemsa.ChargeRequest{
		Amount:        digitalfemsa.PtrInt32(1555),
		PaymentMethod: *digitalfemsa.NewChargeRequestPaymentMethod("cash"),
	}
	productLine := digitalfemsa.Product{
		Name:      "toshiba",
		Quantity:  1,
		UnitPrice: 1555,
	}
	orderRequest := digitalfemsa.OrderRequest{
		Charges: []digitalfemsa.ChargeRequest{
			chargeRequest,
		},
		Currency: "MXN",
		CustomerInfo: digitalfemsa.OrderRequestCustomerInfo{
			CustomerInfoJustCustomerId: digitalfemsa.NewCustomerInfoJustCustomerId(customerResponse.Id),
		},
		LineItems: []digitalfemsa.Product{
			productLine,
		},
	}

	//Make the call to the service. This example code makes a call to /orders
	orderResponse, httpResponse, err := client.OrdersApi.CreateOrder(ctx).
		OrderRequest(orderRequest).
		AcceptLanguage(acceptLanguage).
		Execute()
	if err != nil {
		panic(err)
	}
	if httpResponse.StatusCode != http.StatusCreated {
		panic("invalid response statusCode")
	}
	println(*orderResponse)
}
Java
- Remove conekta dependency from your pom.xml or gradle file
- Add digitalfemsa dependency
<!-- https://mvnrepository.com/artifact/io.digitalfemsa/ct-digitalfemsa-java -->
<dependency>
    <groupId>io.digitalfemsa</groupId>
    <artifactId>ct-digitalfemsa-java</artifactId>
    <version>1.0.0</version>
</dependency>
3 Update the Imports:
import io.digitalfemsa.*;
import io.digitalfemsa.auth.*;
import io.digitalfemsa.model.*;
import io.digitalfemsa.CustomersApi;

public class CustomersApiExample {

    public static void main(String[] args) {
        ApiClient defaultClient = Configuration.getDefaultApiClient();

        // Configure HTTP bearer authorization: bearerAuth
        HttpBearerAuth bearerAuth = (HttpBearerAuth) defaultClient.getAuthentication("bearerAuth");
        bearerAuth.setBearerToken("API_KEY");

        CustomersApi apiInstance = new CustomersApi(defaultClient);
        Customer customer = new Customer(); // Customer | requested field for customer
        customer.setName("Customer Name");
        customer.setEmail("[email protected]");
        customer.setPhone("55454545454");
        String acceptLanguage = "es"; // String | Use for knowing which language to use
        try {
            CustomerResponse result = apiInstance.createCustomer(customer, acceptLanguage,null);
            System.out.println(result);
        } catch (ApiException e) {
            System.err.println("Exception when calling CustomersApi#createCustomer");
            System.err.println("Status code: " + e.getCode());
            System.err.println("Reason: " + e.getResponseBody());
            System.err.println("Response headers: " + e.getResponseHeaders());
            e.printStackTrace();
        }
    }
}
Component Integration
If you have a Component integration, you need to update the JS that renders the checkout. The new location of the component is https://pay.digitalfemsa.io/v1.0/js/digitalfemsa-checkout.min.js.
Here is a snippet to help you identify the change:
<head>
<meta charset="utf-8" />
    <title>Checkout</title>
    <script
      crossorigin
      src="https://pay.digitalfemsa.io/v1.0/js/digitalfemsa-checkout.min.js"
    ></script>
  <!-- This file contains your component configuration -->
</head>
Plugin Integration
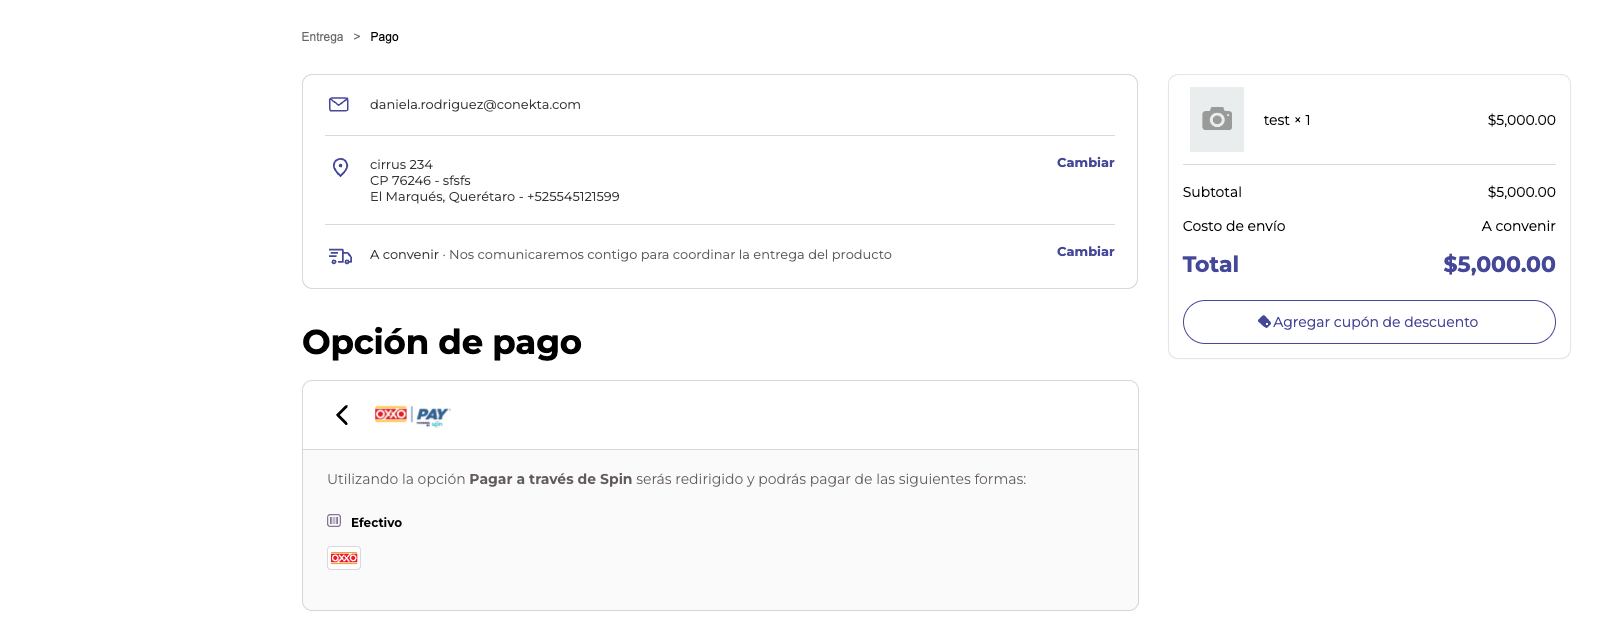
If you have a store with the Conekta plugin on any of the following platforms, you must uninstall it and configure the new Digital@Femsa plugin. The instructions for the new plugin will be published in this section once they are ready for installation.
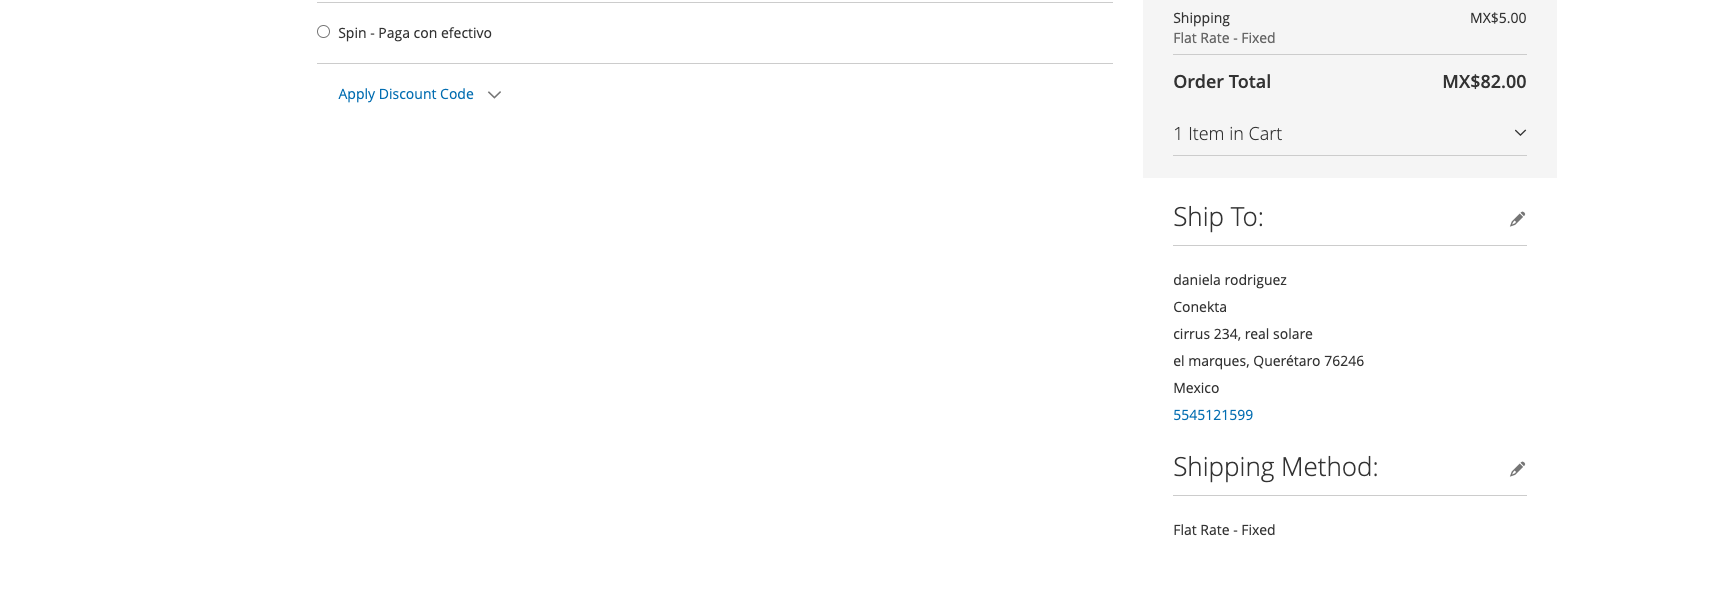
MAGENTO
After following the previous steps, the selection of payment methods will be displayed.

PRESTASHOP
After following the previous steps, the selection of payment methods will be displayed.

SHOPIFY
After following the previous steps, the selection of payment methods will be displayed.

WOOCOMMERCE
After following the previous steps, the selection of payment methods will be displayed.

VTEX
After following the previous steps, the selection of payment methods will be displayed.

TIENDANUBE
After following the previous steps, the selection of payment methods will be displayed.

Network Restrictions
If your server has any restrictions through a firewall, you must add the IP addresses of Oxxo Pay servers to receive events via webhooks. The corresponding IPs are: 52.44.103.21 and 52.55.241.130.
Additionally, you can select a specific port for your webhooks. The supported ports are 80, 443, and the range from 1025 to 10001.
We suggest not removing the IP corresponding to Conekta until you can verify correct communication.
Updated 4 months ago
